What I Wish I’d Known Before I Learned How to Sew
When I first started sewing, I made a lot of mistakes—not just with stitches and seams, but in how I approached learning the craft. Looking back, there are a few things I wish someone had told me at the beginning. Whether you’re just starting out or looking to make your sewing journey smoother, here are some lessons I’ve learned along the way.

1. Pick a project you’re actually excited about.
When I started, I chose an apron as my first project because it was “beginner-friendly.” The problem? I didn’t really care about making an apron. I lost interest and never finished it. It wasn’t until I tackled a denim ball gown skirt—something I really wanted to wear—that I stuck with it.
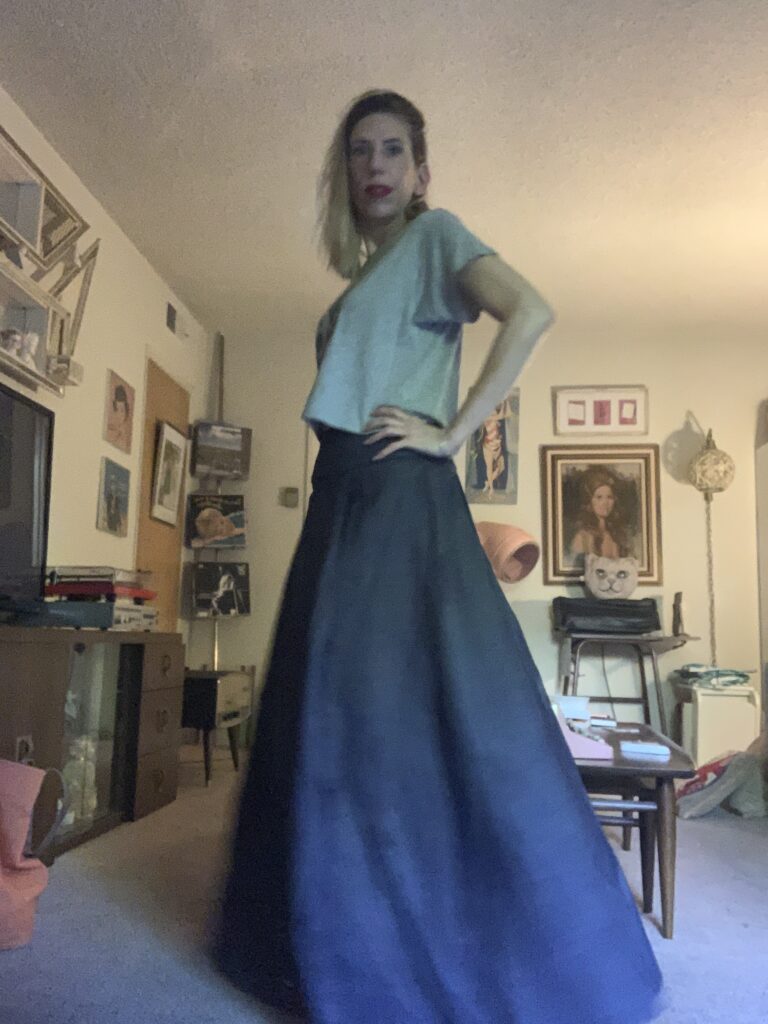
It wasn’t easy, but having a project that excited me kept me motivated through the challenges. Lesson learned: Start with something you’re eager to make, even if it feels a little ambitious.
2. There’s a tool for that!
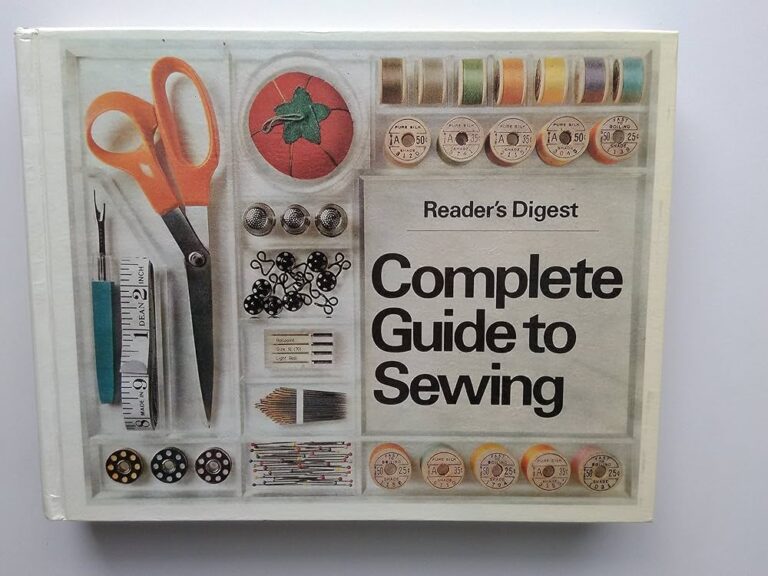
The right tools make sewing so much easier. I used to struggle with just one marking tool, trying to make it work on every fabric. Spoiler: It didn’t. Now I keep a variety on hand—chalk for dark fabrics, washable markers for light ones, and tracing paper for precise markings. The same goes for scissors, seam rippers, and pressing tools. Investing in a few good tools (or at least knowing what options exist) can save a lot of frustration.
3. Not all sewing machines are created equal.
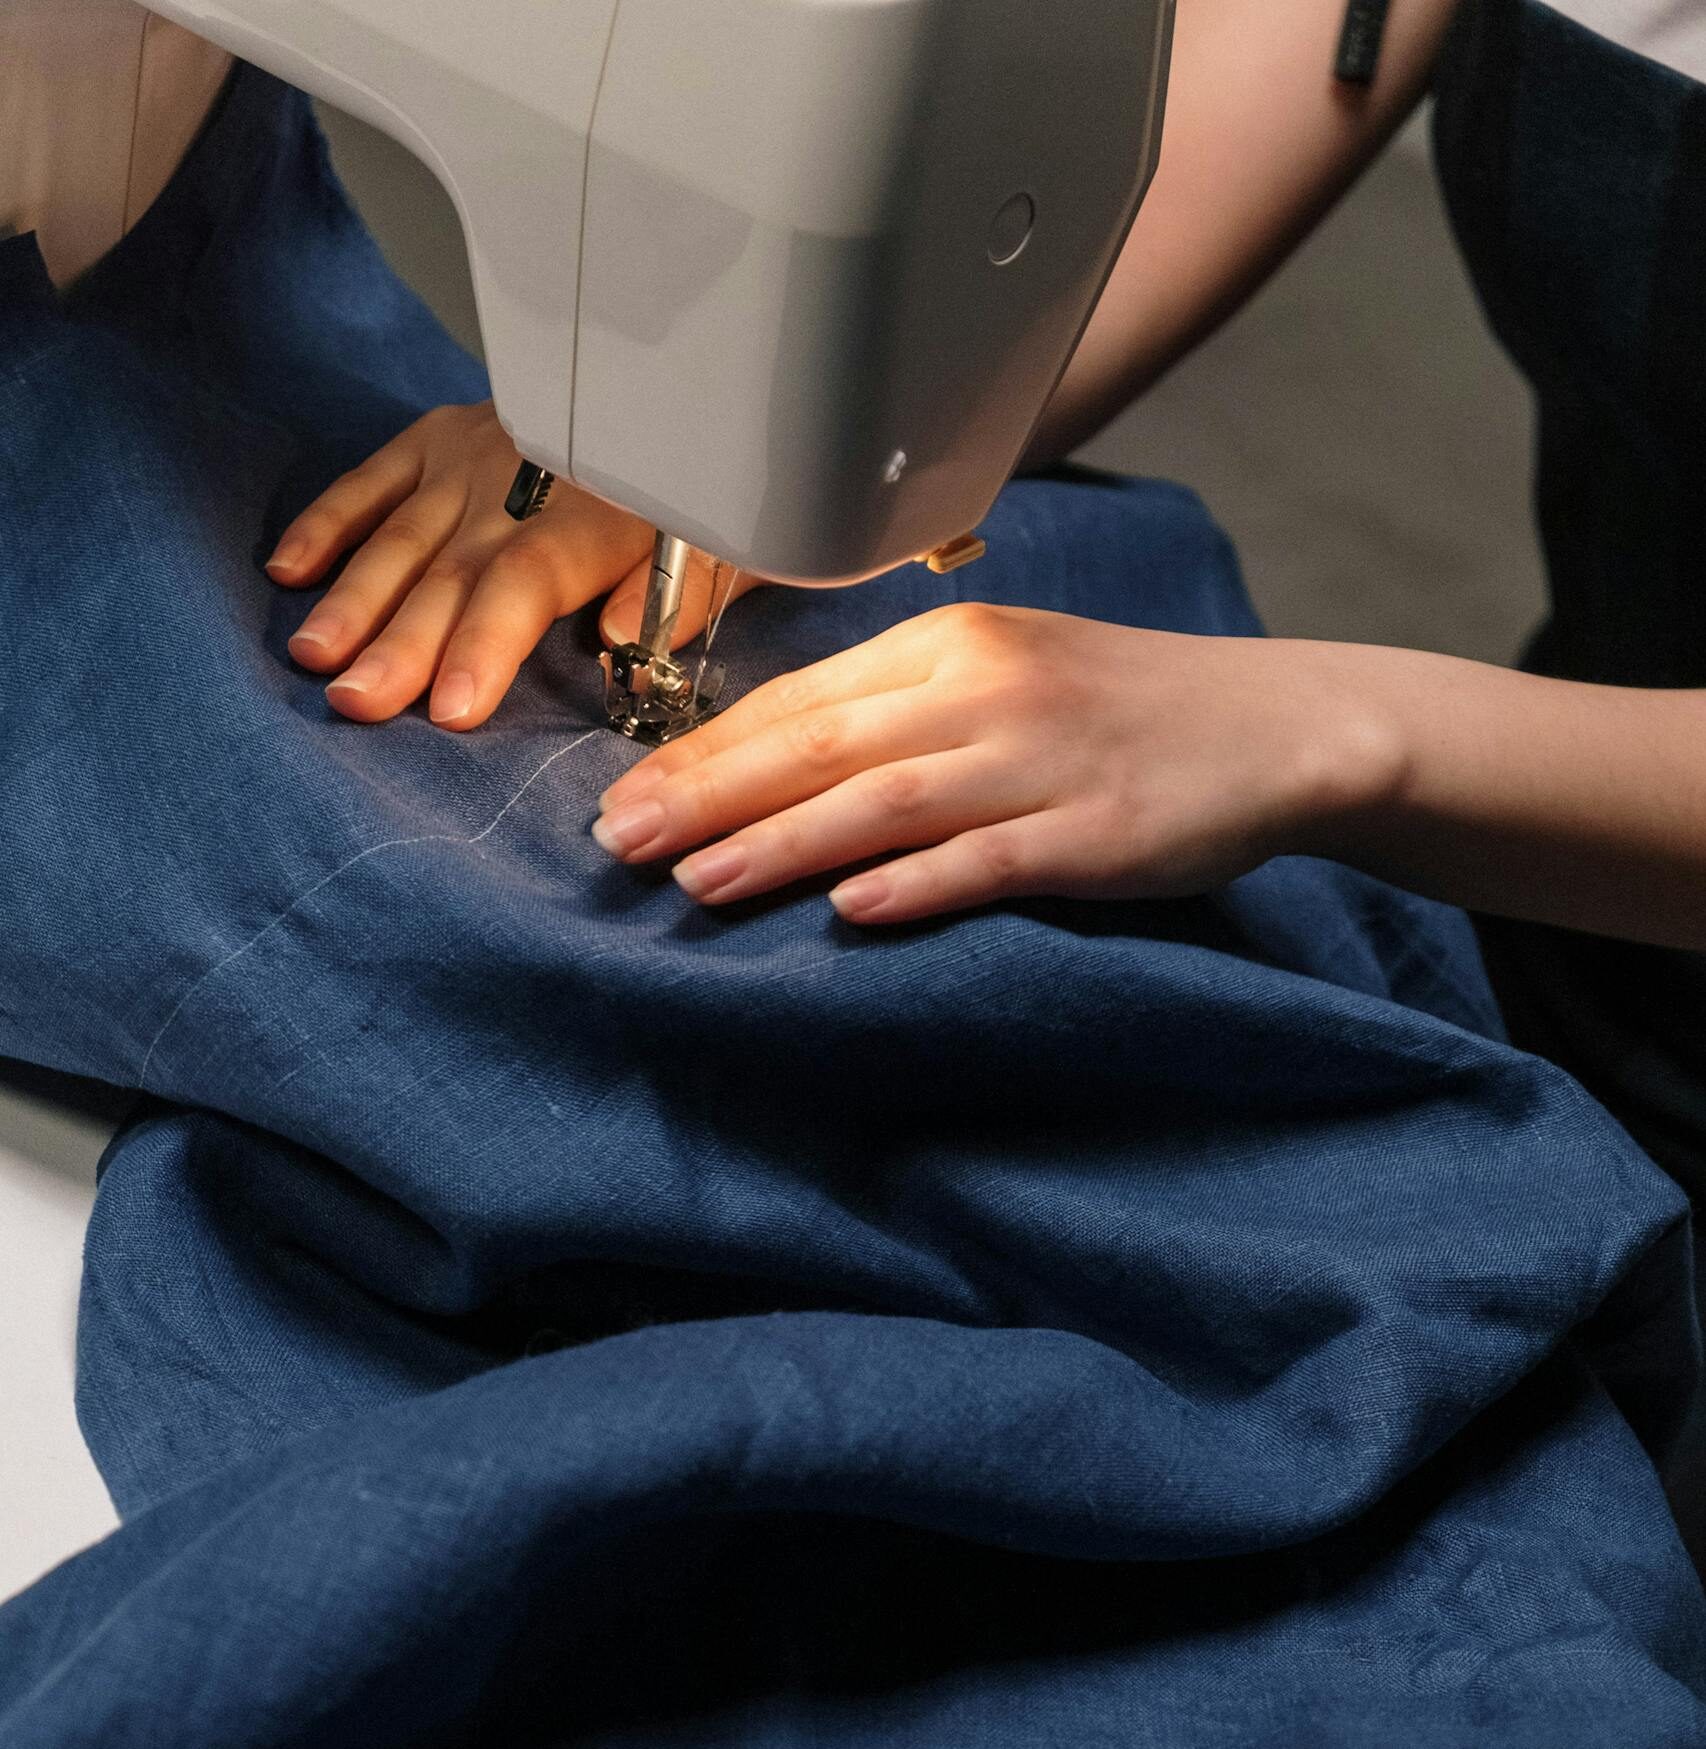
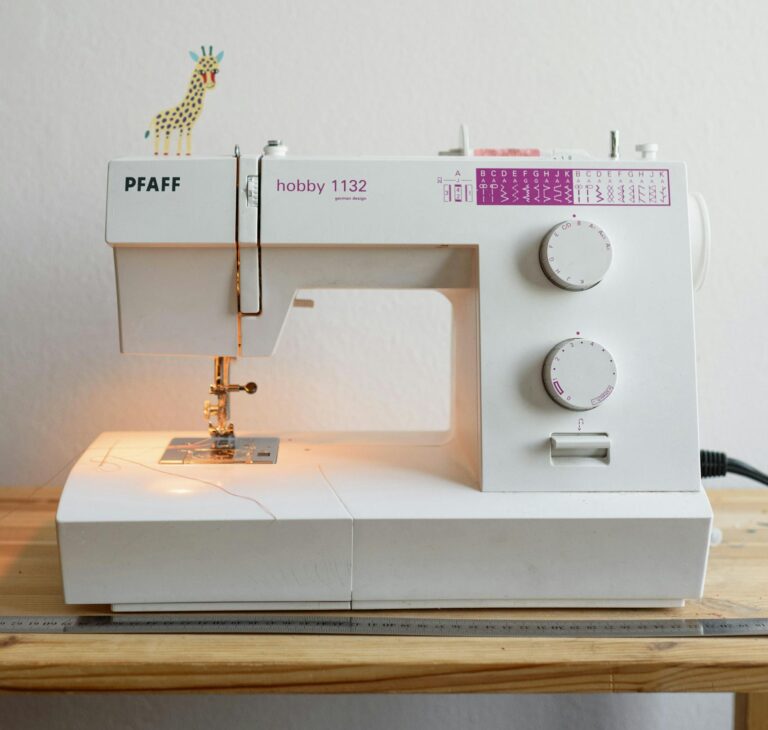
My first sewing machine was the White Jeans Machine, which, despite its name, was not great at sewing denim—or much else. I constantly battled with tension issues and thread nests.

It turns out, not all machines are built the same, and price doesn’t always indicate quality. If you’re shopping for your first machine, look for something sturdy with metal housing. You don’t need to break the bank, but a well-built machine will make learning much more enjoyable. Here’s my favorite sewing machine guide, including lots of information about what to look for and specific recommendations starting at about $200. I teach on the Juki HZL-LB5020, and it is excellent!
4. Big 4 patterns include a lot of ease—here’s what that means.
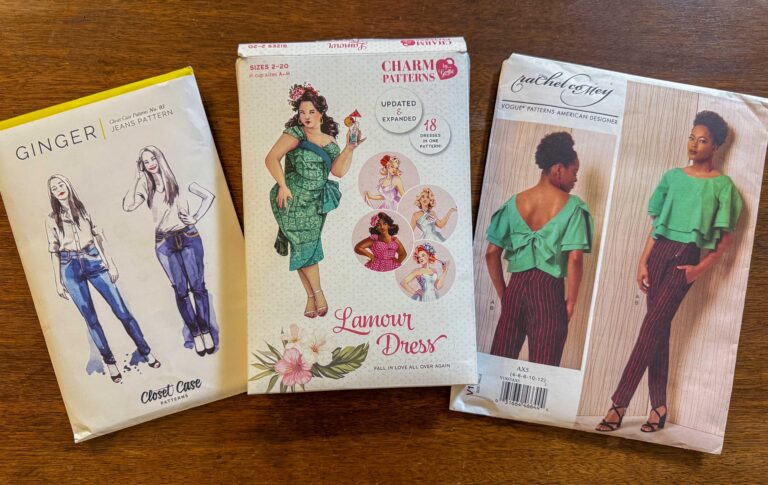
I learned this the hard way when I attempted Vogue 2556, an Issey Miyake design—twice. I measured myself carefully, picked my size according to the chart, and ended up with two dresses that were way too big. I assumed I had done something wrong, but the real culprit? Ease.

Ease is the extra room built into a pattern to allow for movement and fit. Some ease is necessary—no one wants a dress so tight they can’t sit down—but Big 4 patterns (those from the Vogue, Butterick, Simplicity, and McCall’s) often include more ease than you might expect. To avoid surprises, check the finished garment measurements (usually printed on the pattern pieces or envelope). If a pattern adds more ease than you prefer, consider sizing down or adjusting before cutting into your fabric.
5. Pressing is sewing.
When I started, I thought pressing was an extra step—something fancy sewists did but not essential. Turns out, pressing makes a huge difference in how polished your projects look.
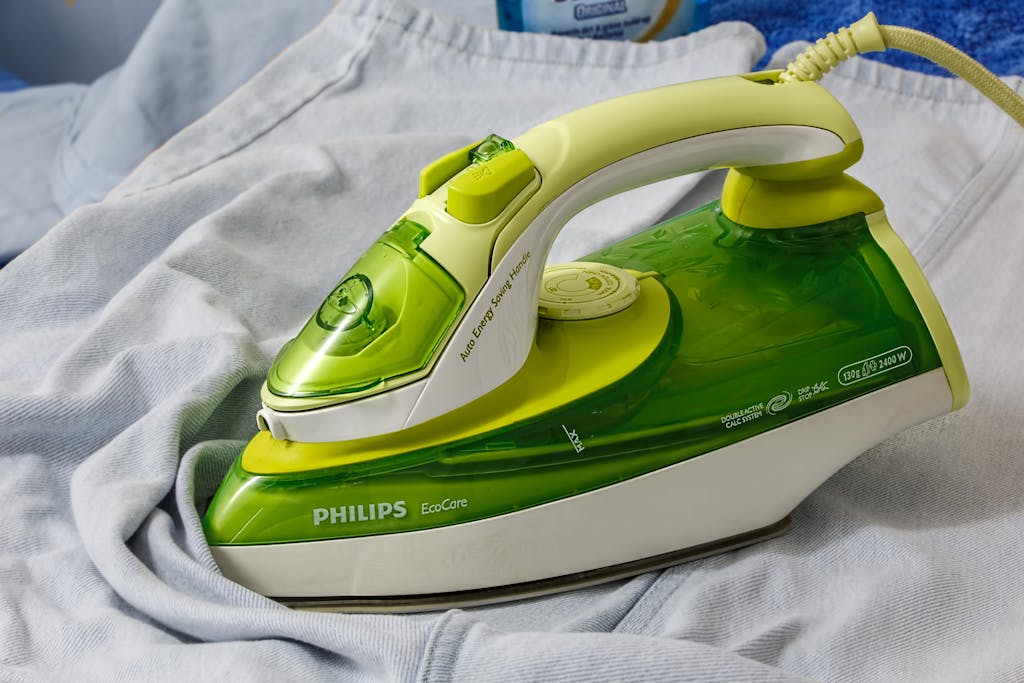
Ironing and pressing between each step helps seams lay flat, ensures accuracy, and can take your project from “homemade” to “handmade” in the best way. This is not a tool you need to spend a lot of money on. My go-to iron is a simple $40 Black & Decker model.
What’s the biggest lesson? Just start.
You don’t need every skill to start sewing. Choose a project you love, use the right tools, be picky about your machine, and don’t let pattern sizing throw you off. Most importantly, give yourself permission to learn as you go. Every stitch is progress.
Happy sewing! ✂️
