
How to Sew a Scrunchie: The Absolute Beginner’s Guide
The scrunchie makes a perfect first sewing project. It’s simple, quick, and super forgiving to the beginner learning to sew in a straight line—plus, who doesn’t love a good throwback to the ’80s? There are plenty of ways to sew a scrunchie, but this method is designed specifically for beginners. No tricky techniques, just straightforward steps that will have you making scrunchies in no time!
Let’s get started.
Materials You’ll Need:
- A strip of fabric (23″ X 3″)
- ¼” wide elastic (8″ long)
- Safety pins (2)
- Sewing machine
- Scissors & pins
Step-by-Step Instructions: How to Sew a Scrunchie
1. Cut Your Scrunchie Fabric
Start by cutting a 23” x 3” rectangle from your fabric. A soft cotton or lightweight woven fabric works best—nothing too thick or stiff.
2. Fold & Pin
Fold your fabric strip in half lengthwise, right sides together (this just means the fancy side of the fabric should be on the inside). Pin it along the edge.
3. Sew a Straight Seam
Using a ¼” seam allowance, sew along the long raw edge to create a fabric tube. You can just line up the edge of your fabric with the presser foot of your sewing machine, and sew a straight stitch—easy!
4. Turn the Fabric Right Side Out
Attach a safety pin to one end of your fabric tube. Then, feed the safety pin through the tube, scrunching the fabric along the way, until the safety pin pops out the other side. Keep pulling until your fabric is right side out!
5. Thread the Elastic
Cut an 8” piece of elastic and attach a safety pin to one end. Use the pin to guide the elastic through your fabric tube. When the other end is about to disappear inside, pin it to the fabric so it doesn’t get lost inside (ask me how I know this step is a must!)
6. Tie a Knot
Once the elastic is all the way through, grab both ends and tie a double knot. Then, rotate the elastic so the knot hides inside the fabric.
7. Close the Scrunchie
Tuck one raw fabric edge inside the other to create a clean finish. Pin it in place.
8. Stitch It Closed
You have two options:
- Quick & Easy: Topstitch the opening closed with your sewing machine.
- Neat & Invisible: Use a hand stitch (a ladder stitch works well) for a cleaner finish.
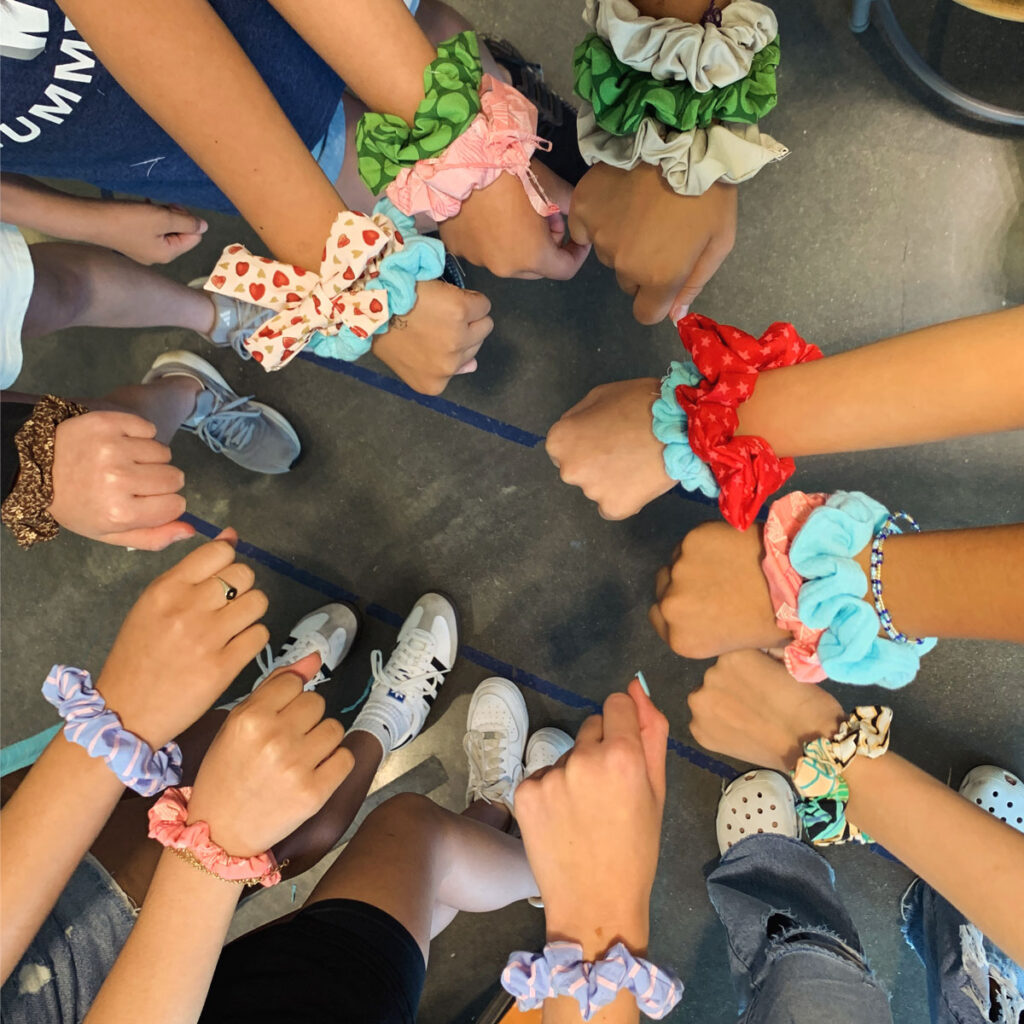
And that’s it—you just made your first scrunchie!
Scrunchie Fun Facts 🎀
Now that you’re officially part of the scrunchie club, let’s talk history!
🌀 Inspired by Pajamas? The scrunchie was invented in the 1980s by Rommy Hunt Revson, who got the idea from looking at elastic-waist pajama pants (a great project to try after you make a scrunchie!) She wanted to create a softer alternative to plastic hair accessories.
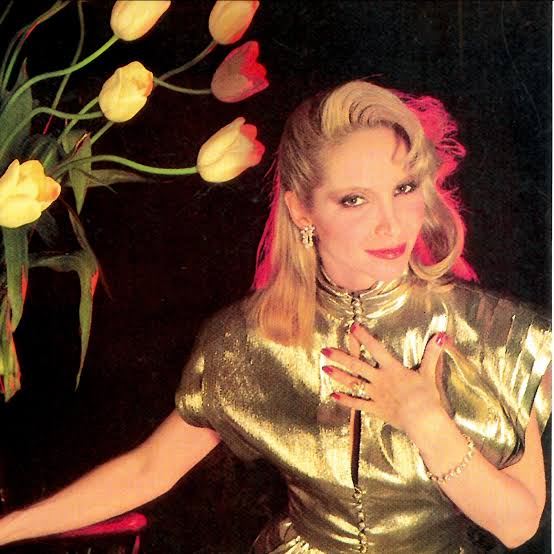
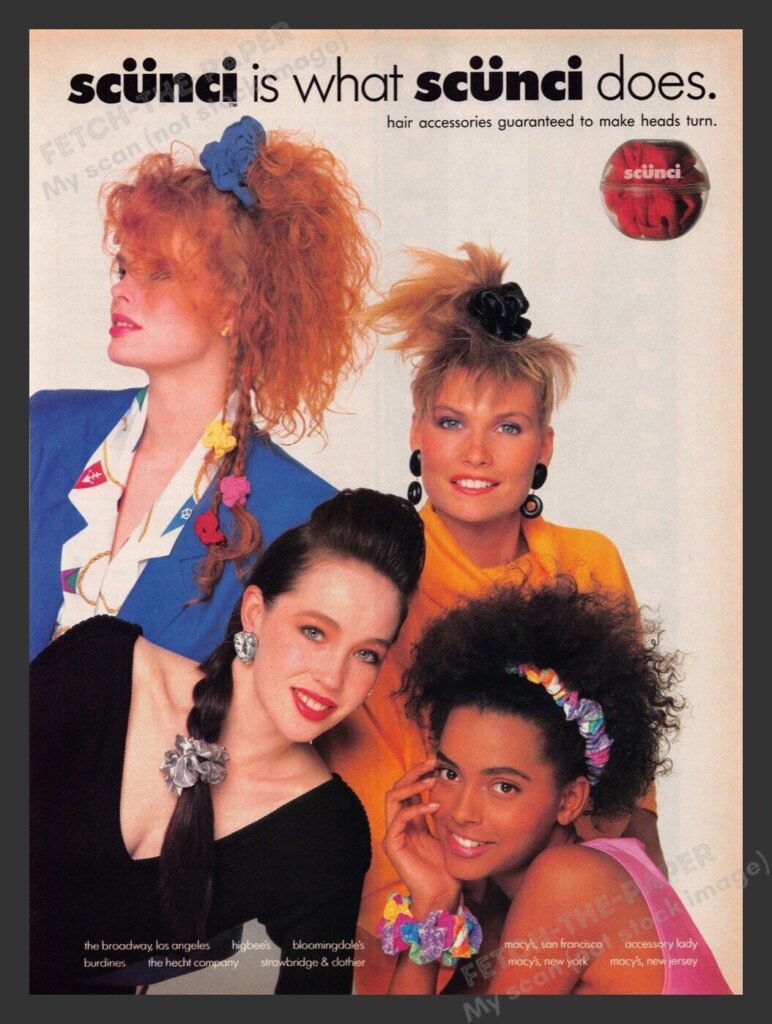
🐩 Named After a Poodle. Originally called Scunci (pronounced SKOON-chee), Rommy named it after her pet poodle. The original Scünchi produced some incredible 1980s advertisements!
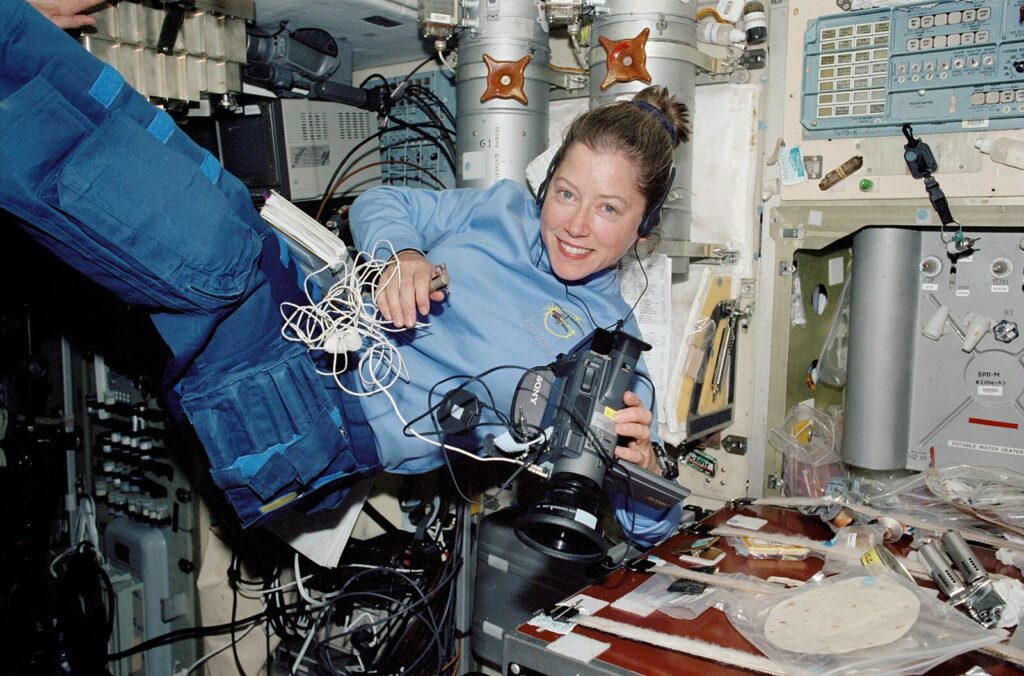
🚀 A Scrunchie in Space. A blue scrunchie worn in space by astronaut Col. Pamela Melroy is now in the Smithsonian Museum’s collection!
Now it’s your turn—grab some fabric and start making scrunchies in every color!
Let me know in the comments: What fabric would you choose for your first scrunchie? 🎨