Cracking the Code: Read a Sewing Pattern Envelope Like a Pro
If you’ve ever picked up a sewing pattern and felt like you were staring at a secret code, you’re not alone. Those little envelopes are packed with information, and at first, it can seem overwhelming. But don’t worry—I’m here to walk you through it, step by step.
1. The Cover Image and Technical Drawings: Visual Clues for Fit & Style
Cover Images
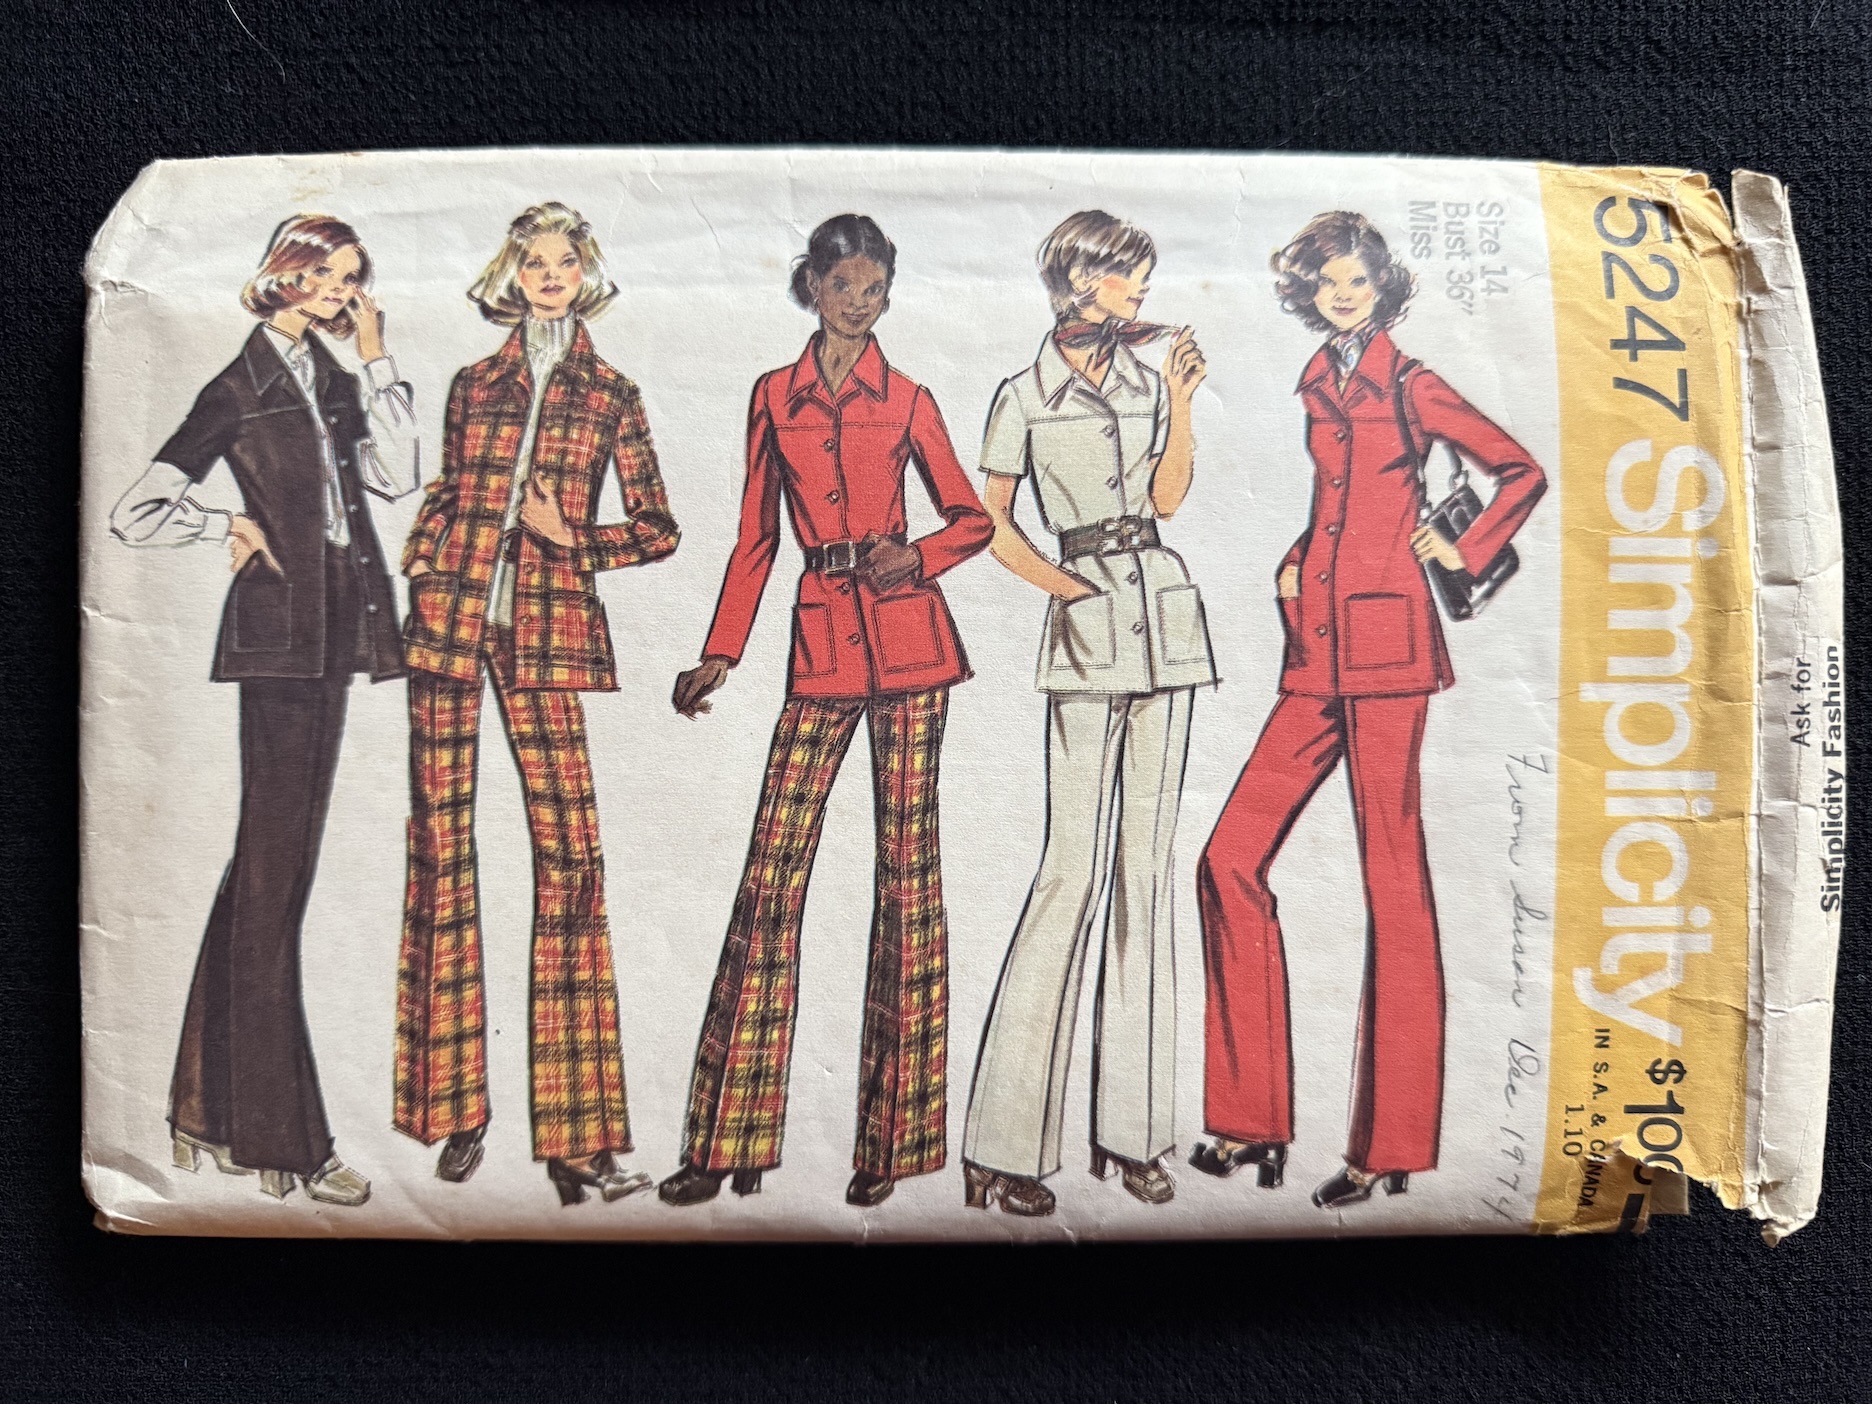
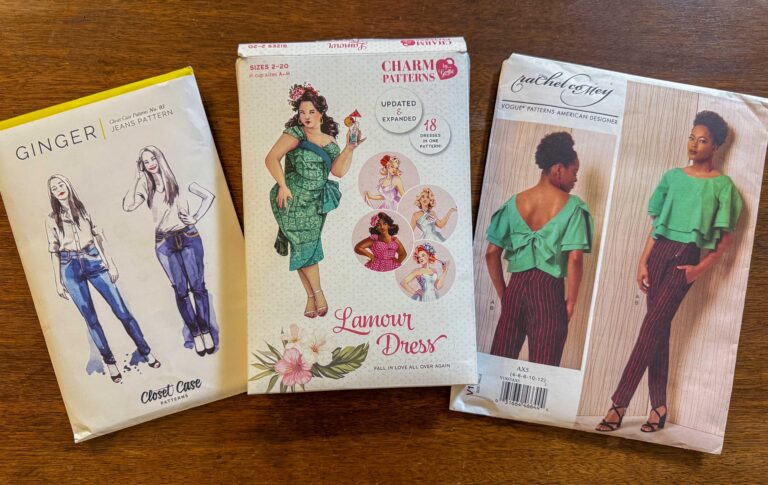
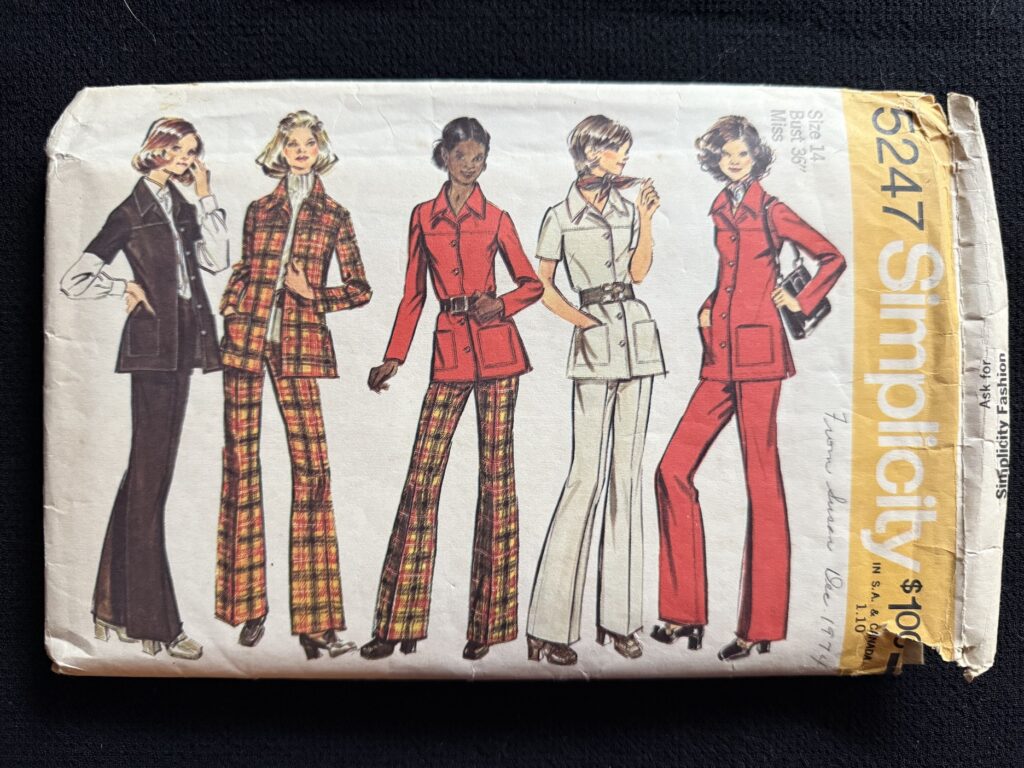
The front of the pattern envelope is like a preview of your finished project. It usually has either a photograph of a real person wearing the garment or an illustration showing the design. This is your first clue about fit and style!
Look at the images carefully: Is the garment loose and flowy? More fitted and structured? Consider if these characteristics are what you’re looking for in a project. But don’t stop there!
Technical Drawings

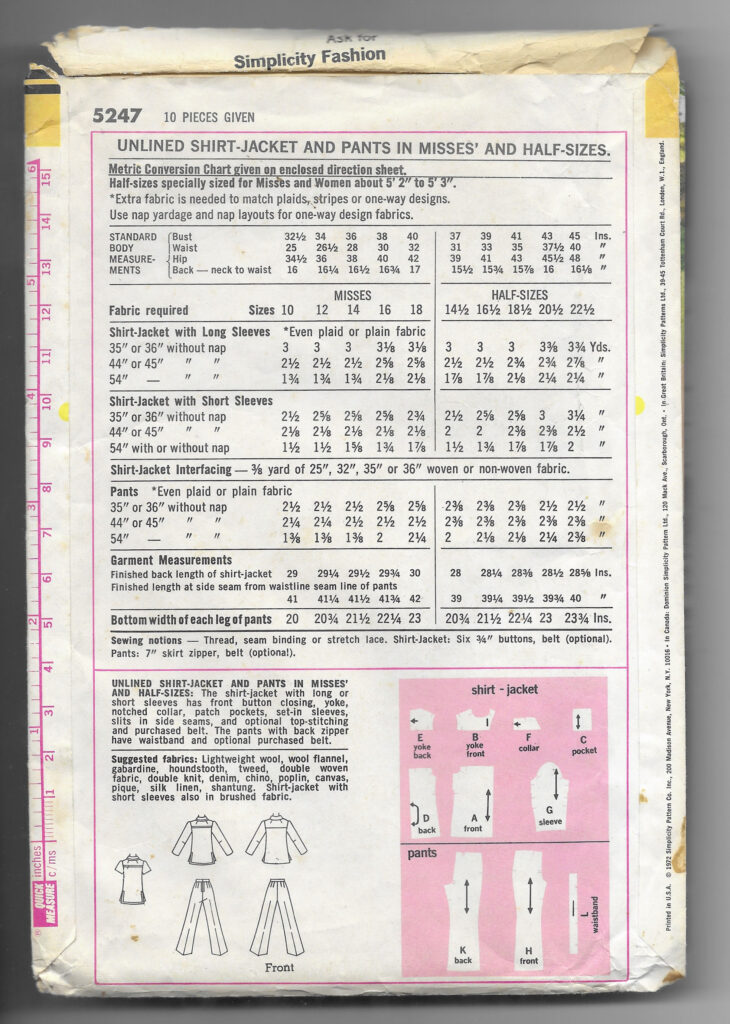
The technical drawings (often on the back of the envelope) give you an even clearer picture of the style lines, seams, and construction details without the distraction of styling and fabric choices.
These drawings help you envision how the garment will come together.
2. Pattern Description
The pattern description can includes important clues about garment construction and intended fit. Words like “loose-fitting” or “semi-fitted” help set expectations before you sew.

3. Fabric Recommendations: Your Guide to the Right Fabric
Next, check the fabric recommendations carefully. Choosing a fabric from this list ensures that your final project will most closely reflect the design intent illustrated on the cover photo or illustration.

If a pattern calls for lightweight, flowing fabrics and you opt for stiff denim, your finished project will look and feel very different from the original design. That’s not to say you can’t experiment (sometimes breaking the rules leads to amazing results!). As a beginner, you might want to stick with the recommended fabrics and branch out later when you’re more confident with fabric behavior.
4. Pattern Pieces: More Pieces = More Complexity

Sewing patterns typically include illustrations of the pattern pieces. Some patterns, especially vintage ones, include the diagram on the pattern envelope. Others may have them in the instructions.
These diagrams gives you an idea of how many pieces you’ll be working with. A simple shirt might only have three or four pieces, while a tailored jacket could have over 20. More pieces usually means a more involved sewing process, so this is a helpful way to gauge the complexity of the pattern before diving in.
5. Sizing: Forget Your Ready to Wear Size!
One of the biggest surprises for beginner sewists is that sewing pattern sizes don’t match ready-to-wear clothing sizes. Resist the urge to pick the size you normally wear in stores! Instead, head straight to the size chart and with your personal body measurements—especially your bust, waist, and hips. Compare these numbers to the chart on the envelope. You’ll choose the size closest to your own measurements.

A key detail: Most commercial patterns are drafted for a B cup bust. If you have a larger or smaller bust, you may need to adjust the fit with a full or small bust adjustment (FBA/SBA). Learning to work with sewing pattern sizing is a game-changer in achieving a custom fit.
6. Fabric Requirements: Understanding Widths and Yardage
The fabric yardage chart tells you how much fabric to buy, but there’s a catch: fabric comes in different widths. Most patterns provide yardage for both 45” and 60” wide fabrics, and the amount you need depends on how efficiently the pattern pieces fit within that width. Generally, wider fabric means you’ll need less yardage, while narrower fabric may require more.

7. Finished Garment Measurements: The Final Fit Check
If the pattern includes a finished measurement chart, this is where you can fine-tune your size choice. These numbers tell you the actual size of the garment once sewn, including ease—the extra room built into a design for comfort and movement. For example, if your bust measures 36” and the finished garment bust measurement is 39”, that means there’s 3” of ease. This can help you determine if you like the amount of ease the pattern provides or if you want to size up or down for a different fit.
If you don’t see a finished measurement chart on the envelope, check inside the instruction sheet or even on the pattern pieces themselves—some brands, like Vogue, print them directly on the tissue.
8. Notions: The Small but Essential Extras
Notions are all the extra components you’ll need to complete your project—things like zippers, buttons, elastic, and interfacing. Before leaving the fabric store, double-check that you have everything listed in this section so you’re not scrambling in the middle of your project (ask me how I know that!)

Sewing Patterns as a Roadmap to Your Creativity
Reading a sewing pattern envelope is like cracking a secret code—but once you understand it, you gain the power to make informed choices, select the right fabrics, and create garments that match your expectations. With each pattern you sew, this knowledge will become second nature, giving you more confidence to experiment, tweak designs, and express your creativity through sewing.
So next time you pick up a new pattern, take a moment to study the envelope. It holds all the clues you need to turn a flat piece of fabric into something amazing. Happy sewing!
